Start To Finish | Pixie Cut Short Bob Wig
A pixie cut bob wig is the perfect accessory to get the edgy and chic short hairstyle without any commitment to chopping off your natural hair. With a versatile and low-maintenance cut, pixie wigs have been the go-to choice for many women. In this article, we will guide you on how to install a pixie cut bob wig seamlessly, especially if you're new to the world of wigs.
Preparation:
Before installing your pixie cut bob wig, you should take the following steps to prepare your natural hair:
- Wash and condition your hair to ensure a clean and healthy scalp. A clean scalp will prevent any discomfort or itching while wearing the wig.
- Dry your hair completely to avoid trapping moisture under the wig, which can lead to bacteria growth and cause scalp issues.
- If you have longer hair, braid it into small cornrows to create a flat base for your wig installation.
- Put on a wig cap to protect your hair and create a smooth surface for your wig.
Step-by-Step Guide to Installing a Pixie Cut Bob Wig:
Step 1: Customize your wig
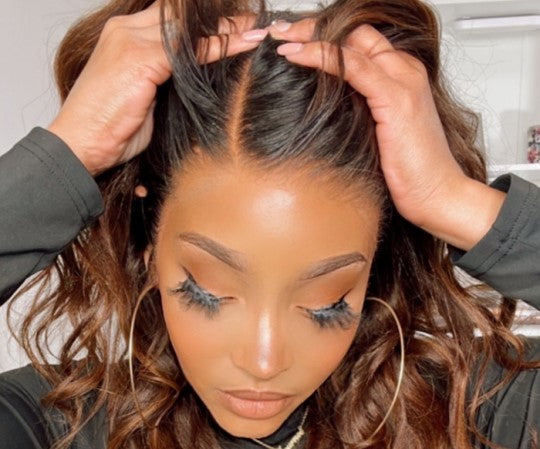
Before putting on the wig, trim the lace to fit your hairline. You can also tweeze some hairs from the parting area to make it look more natural. If needed, you can also use a wig block to style the wig and create a more realistic appearance.
Step 2: Secure the wig cap
If you use a wig cap, make sure it's snug and properly fitted on your head. You can use a few bobby pins to secure the cap, but make sure they are strategically placed and not too tight to avoid discomfort.
Step 3: Apply the wig
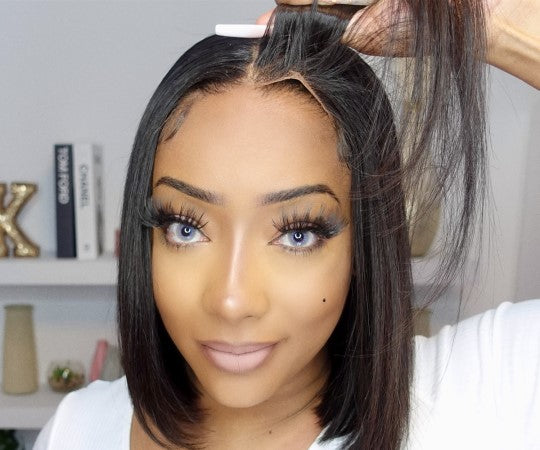
Place the wig onto your head, aligning the wig's hairline to your natural hairline. Adjust the wig by gently pulling the front and back until it sits comfortably on your head. Ensure that the ear tabs are positioned on both sides of your head at the same level.
Step 4: Secure the wig
Use wig clips or combs that come with your pixie cut bob wig to secure it in place. You can also use wig glue or double-sided tape if the wig does not come equipped with clips or combs.
Step 5: Style the wig
Now that your wig is securely in place, you can style it as desired. Use heat-styling tools with caution, and make sure they are set to a low setting. Use wide-tooth combs or your fingers to style your wig and avoid excessive tugging.
Step 6: Finish with hairspray (optional)
If needed, finish your look with a light hold hairspray to keep your style in place throughout the day. Remember to choose a hairspray designed specifically for wigs to avoid damaging the wig's fibers.
Maintenance:
To ensure your pixie cut bob wig stays looking fabulous, follow these tips for proper care and maintenance:
- Gently detangle your wig using a wide-tooth comb or your fingers before storing it.
- Store your wig on a wig stand or mannequin head to maintain its shape and avoid tangles.
- Wash your wig regularly, following the manufacturer's instructions, to remove any dirt or buildup.
Summary:
Installing a pixie cut bob wig can be a breeze if you follow the easy step-by-step guide above. By properly preparing your hair, customizing, and securing your wig, you will have a flawless and natural-looking pixie haircut that lasts. Remember to maintain your wig correctly to enjoy a stylish pixie cut for an extended period. So, go ahead and rock your new, chic short hairstyle with confidence!
👇📺You can also watch the hair video for all details you need to know:
🛒Shop the same hair:


Leave a comment